Introduction
Regularly washing your motorcycle is essential for maintaining its appearance, preserving its paint and finishes, and ensuring optimal performance. However, it is important to use the proper techniques to avoid damaging sensitive components and finishes. In this article, we will discuss step-by-step instructions for washing your motorcycle, including the necessary tools and products, as well as tips for achieving a thorough and safe cleaning process.
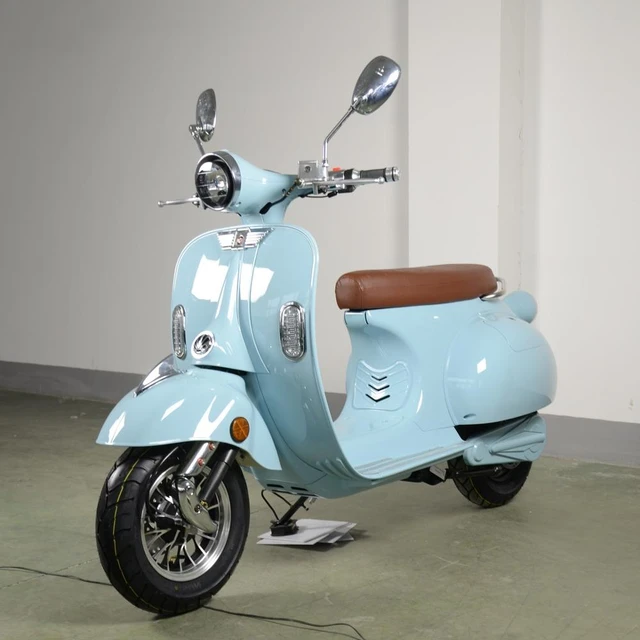
What is the proper way to wash a motorcycle?
Gather the Necessary Tools and Products
Before starting the washing process, gather the following tools and products to ensure an effective and safe cleaning:
Bucket: Obtain a clean bucket large enough to hold an ample amount of water and accommodate your cleaning tools.
Soft Brushes or Sponges: Use soft-bristle brushes or sponges specifically designed for washing motorcycles. Avoid using abrasive brushes or household cleaning tools that can scratch the paint or surfaces.
Microfiber Cloths: Have a few clean microfiber cloths or towels on hand for drying and applying cleaning products.
Mild Motorcycle-Specific Cleaner: Choose a mild, non-abrasive cleaner specifically formulated for motorcycles. Avoid strong household detergents or solvents that can strip away protective coatings or damage surfaces.
Degreaser (if needed): If your motorcycle has heavy grease or grime buildup, consider using a degreaser specifically formulated for motorcycles. Follow the manufacturer’s instructions and precautions.
Wheel Cleaner: Select a wheel cleaner designed for motorcycles to effectively remove brake dust and road grime. Ensure that the wheel cleaner you choose is safe for your specific wheel material (e.g., aluminum, chrome, or painted surfaces).
Hose or Pressure Washer: A hose with adjustable pressure or a pressure washer can be used to rinse the motorcycle. Adjust the pressure to a moderate level to avoid forcing water into sensitive areas, such as electrical components.
Water Source: Ensure you have access to a water source, such as a hose or bucket, for rinsing and filling your cleaning tools.
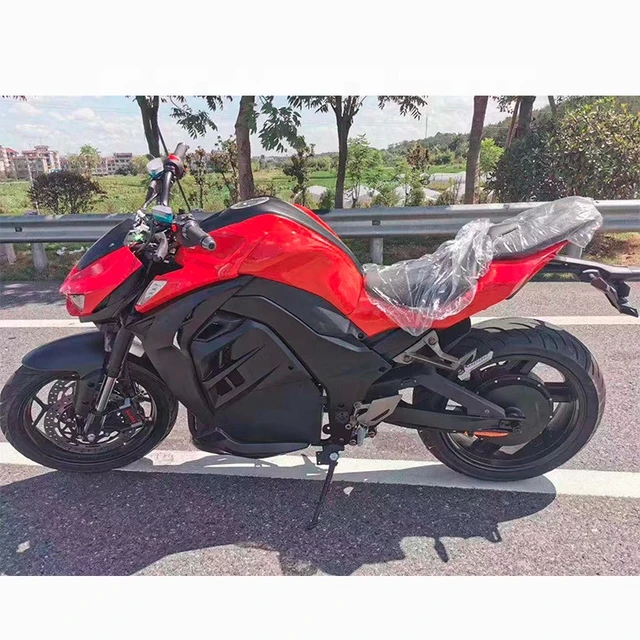
Prepare the Motorcycle for Washing
Properly preparing the motorcycle before washing ensures a more efficient and thorough cleaning process. Follow these steps:
Park in a Suitable Location: Choose a location with ample space to move around the motorcycle and access all areas. Ideally, select a shaded area to avoid direct sunlight, as it can cause cleaning products to dry too quickly and potentially leave residue.
Allow the Motorcycle to Cool Down: Washing a hot motorcycle can cause cleaning products to evaporate too quickly, leaving behind streaks or residue. Wait until the motorcycle has cooled down before starting the cleaning process.
Remove Loose Debris: Use a soft brush or cloth to gently remove loose dirt, leaves, or debris from the motorcycle’s surfaces. This step helps prevent scratching or spreading dirt during the washing process.
Cover Sensitive Components: If your motorcycle has sensitive components, such as the air intake or exhaust, cover them with plastic bags or specialized covers to prevent water from entering and potentially causing damage.
Start with a Pre-Rinse
A pre-rinse helps loosen and remove surface dirt and grime, making the subsequent cleaning steps more effective. Follow these guidelines:
Rinse from Top to Bottom: Begin rinsing the motorcycle from top to bottom, allowing the water to flow down and carry away loose dirt and debris. This method helps prevent dirt from running down onto previously rinsed areas.
Adjust Water Pressure: Use moderate water pressure to rinse the motorcycle. Avoid using high-pressure settings that may force water into delicate areas or damage electrical components.
Pay Attention to Hard-to-Reach Areas: Direct the water into hard-to-reach areas, such as under the fenders, around the engine, or between the frame and fairings, to dislodge hidden dirt and grime.
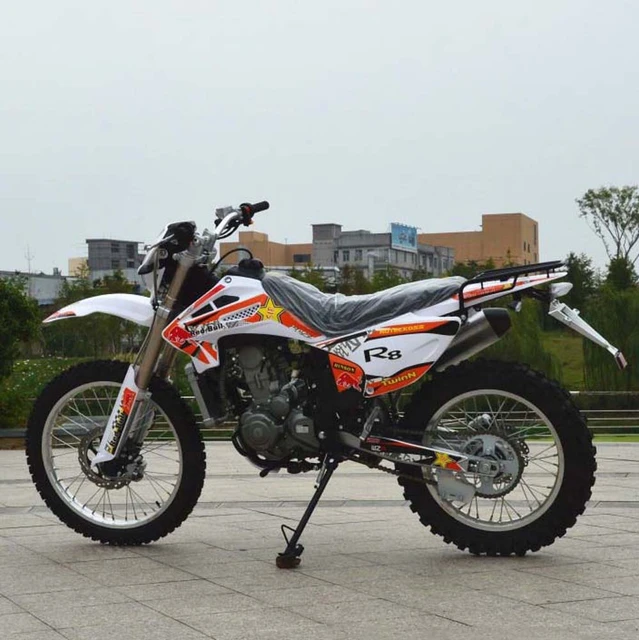
Clean the Motorcycle’s Surfaces
Once you have completed the pre-rinse, it’s time to clean the motorcycle’s surfaces. Follow these steps:
Apply the Mild Cleaner: Dilute the mild motorcycle-specific cleaner according to the manufacturer’s instructions. Apply it to one section of the motorcycle at a time, starting from the top and working your way down.
Gently Agitate the Surfaces: Use a soft brush or sponge to gently agitate the cleaner on each section of the motorcycle. Pay extra attention to areas with heavy dirt or grime buildup, such as the wheels, exhaust, or engine.
Avoid Excessive Scrubbing: While it may be tempting to scrub vigorously, avoid excessive pressure or scrubbing that may damage the paint or finishes. Let the cleaning products do the work, and use gentle brushing motions.
Clean the Wheels Separately: Use a wheel cleaner specifically formulated for motorcycles to remove brake dust and road grime from the wheels. Follow the instructions provided by the manufacturer, and use a soft brush or sponge to agitate the cleaner on the wheels.
Rinse Thoroughly
After cleaning the motorcycle’s surfaces, rinse off the cleaner thoroughly. Follow these steps:
Start from the Top: Begin rinsing from the top and work your way down, ensuring that all cleaning products are completely rinsed off. This method helps avoid any residue running down onto previously rinsed areas.
Pay Attention to Hidden Areas: Direct the water into hidden or hard-to-reach areas, such as under the seat, around the engine, or between fairings, to remove any trapped cleaning products or dirt.
Confirm Removal of Soap Residue: Test the surfaces by running a clean hand or microfiber cloth over them. If you feel any sliminess or residue, continue rinsing until all traces of soap are gone.
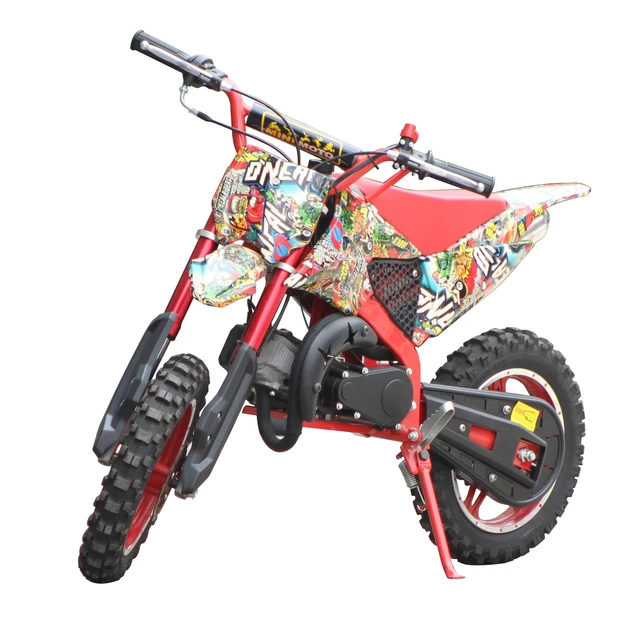
Dry the Motorcycle
Properly drying the motorcycle helps prevent water spots and damage to sensitive components. Follow these guidelines:
Use Clean Microfiber Cloths: Gently dry the motorcycle’s surfaces using clean microfiber cloths or towels. Pat the surfaces dry instead of rubbing, which can potentially cause scratching.
Pay Attention to Caution Areas: Thoroughly dry areas where water can accumulate or potentially cause damage, such as around electrical components, the fuel tank cap, or the seat area.
Allow Air Drying: If you have compressed air available, use it to blow-dry hard-to-reach areas, such as around the engine or under the seat. Ensure you use low pressure to prevent damage.
Apply Protective Products (optional)
If desired, consider applying protective products to enhance the motorcycle’s appearance and safeguard its surfaces. Here are some options:
Wax: Apply a motorcycle-specific wax to protect the paint and finishes. Follow the manufacturer’s instructions for application and buffing to achieve a glossy and protective layer.
Plastic and Rubber Conditioner: Use a plastic and rubber conditioner to restore and protect plastic or rubber surfaces, such as fairings, fenders, or seals. Apply the conditioner with a clean microfiber cloth and follow the manufacturer’s recommendations.
Metal Polish (if applicable): If your motorcycle has metal surfaces or chrome accents, consider using a suitable metal polish to restore their shine and protect them from oxidation. Follow the manufacturer’s instructions for application and buffing.
Conclusion
Properly washing your motorcycle is crucial for preserving its appearance, protecting its surfaces, and maintaining optimal performance. Remember to gather the necessary tools and products, prepare the motorcycle, start with a pre-rinse, clean the surfaces, rinse thoroughly, and dry the motorcycle properly. Applying protective products is optional but can enhance the motorcycle’s appearance and safeguard its surfaces. By following these step-by-step instructions and taking care to avoid damaging sensitive components, you can enjoy a thorough and safe cleaning process that keeps your motorcycle looking its best and performing at its peak.
