
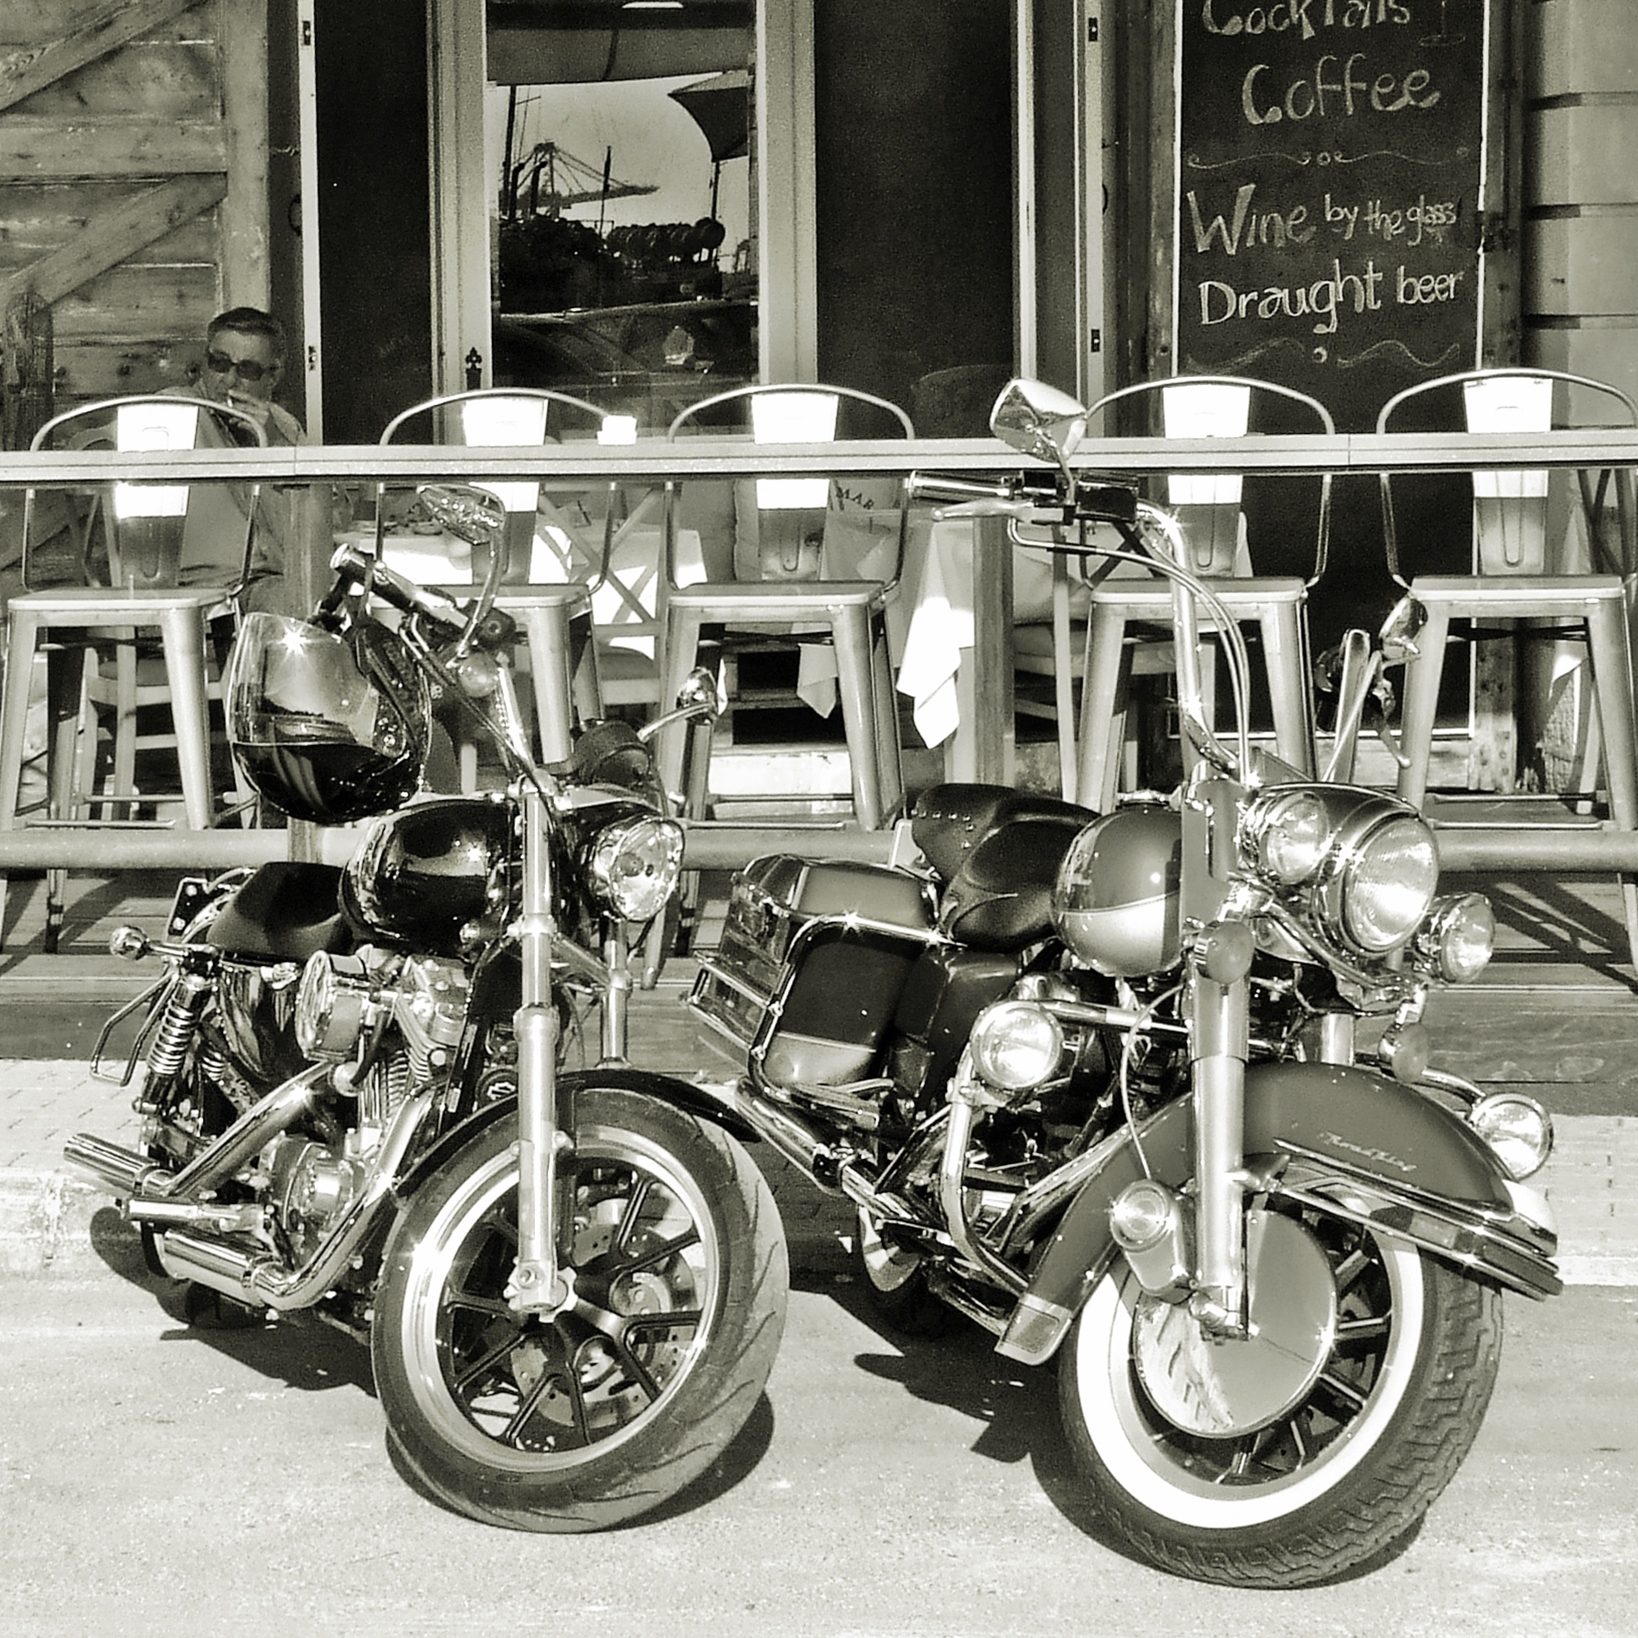
Introduction to Luxury Motorcycling
What is the most expensive motorcycle? The world of luxury motorcycling combines high-end performance with breathtaking exclusivity. These bikes are designed not only for speed and power but also as status symbols and collector’s items. For enthusiasts and collectors, the most expensive motorcycles of 2024 represent the pinnacle of two-wheeled luxury. Each model on this list reflects unparalleled craftsmanship, cutting-edge technology, and premium materials. Whether they are limited editions, custom-built or packed with advanced features, these motorcycles command attention and are worth every penny to those who can afford them. Featuring brands like Combat Motors, Ducati, and Kawasaki, the costliest motorcycles of the year set a new benchmark in the world of high-performance biking.
Top 10 Most Expensive Motorcycles Overview
What is the most expensive motorcycle? The realm of luxury bikes is not for the faint-hearted. These machines boast prices that transcend the ordinary, reaching into the domain of the extraordinary. Let’s delve into the Top 10 most sought-after motorcycles of 2024, where opulence and state-of-the-art engineering meet.
- The Combat Motors Wraith sits at the pinnacle, demanding a price of a grand $155,000. Its billet aluminum frame and intense power output justify its position.
- Arch 1s comes second, customized to perfection with a price of $128,000.
- Curtis Motorcycles opens reservations for The 1 at $120,000, with deliveries anticipated for 2024.
- Only 29 will lay claim to Indian Challenger RR King of The Baggers, each at $92,229.
- The Boss Hoss Limited Super Sport Big Block, with an awe-inspiring 600 horsepower, comes with a $73,273 tag.
- Italian craftsmanship shines through the Bimota TESI H2, available for $72,000.
- Ducati Streetfighter V4 Lamborghini, a fusion of two legendary brands, demands $68,000.
- For speed enthusiasts, the Kawasaki Ninja H2R is an investment of $58,100.
- MV Agusta’s Rush 1000, an embodiment of Italian elegance, is priced at $50,098.
- Rounding off the list is Ducati Panigale V4 R, a testament to performance, at $45,495.
These motorcycles stand as monuments to luxury, exclusivity, and the very edge of what’s possible on two wheels.
Combat Motors Wraith: The Million-Dollar Bike
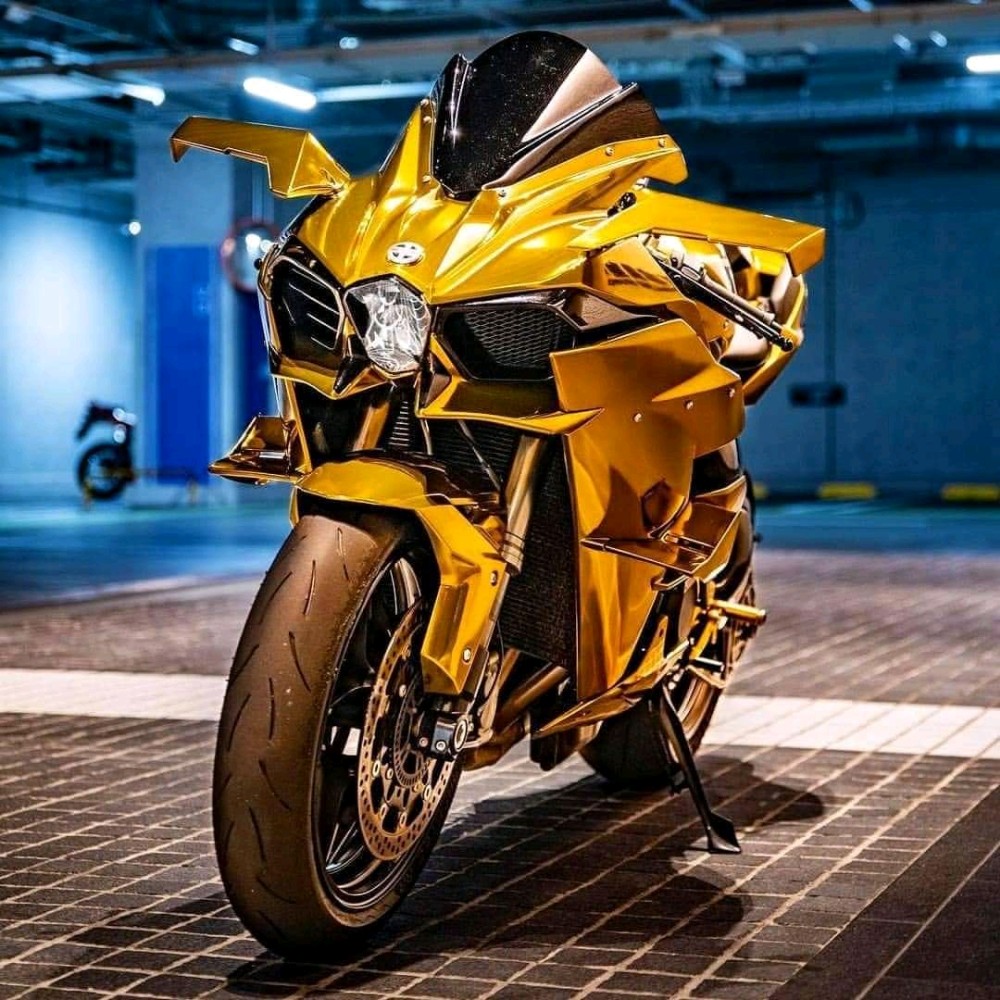
What is the most expensive motorcycle? The Combat Motors Wraith tops the list of lavish bikes in 2024. This exclusive motorcycle boasts a solid billet aluminum frame. Its powerful V-twin engine delivers an intense ride. Priced at a whopping $155,000, it redefines luxury motorcycling. The Wraith achieves over 160 mph, appealing to speed lovers and collectors alike.
Innovation and exclusivity set the Wraith apart. It features carbon fiber wheels and a high-end, fully adjustable rear suspension. Bringer brakes provide unmatched stopping power. Every detail screams premium, justifying the million-dollar nickname.
Only a select few will own this marvel. Its high price reflects bespoke craftsmanship and elite performance. For the affluent enthusiast, the Combat Motors Wraith is a treasure worth the investment. Its presence on the road demands attention, turning heads wherever it goes. The Wraith is not just a motorcycle; it’s a symbol of opulence and engineering prowess.
Exclusivity and Performance: Arch and Curtis Luxury Rides
Arch and Curtis motorcycles stand out with their exclusive builds and top-notch performance. Each Arch 1s commands a high $128,000 due to its bespoke customization. With its S&S V-twin engine, it promises power tailored to each buyer’s liking.
Meanwhile, Curtis’s model, The 1, awaits at $120,000 with anticipation for 2024 deliveries. This electric bike wows with a potent 217-horsepower motor. Its futuristic design merges with the impressive torque provided by the electric powerhouse.
Both brands reflect a move towards personalization in high-end motorcycling. They offer unique experiences that set riders apart from the crowd. The price tags might be hefty. Yet, they echo the exclusivity and performance these luxury rides provide. Riders get more than just speed; they get a machine that’s a true extension of their style and prestige.
The intense attention to detail on Arch and Curtis bikes echoes their top-tier standing. They provide more than just a ride. They offer an unparalleled experience that mixes adrenaline and luxury. For the collector or the enthusiast, these bikes are not just about getting from A to B. They are about making a statement of refined taste and advanced technology.
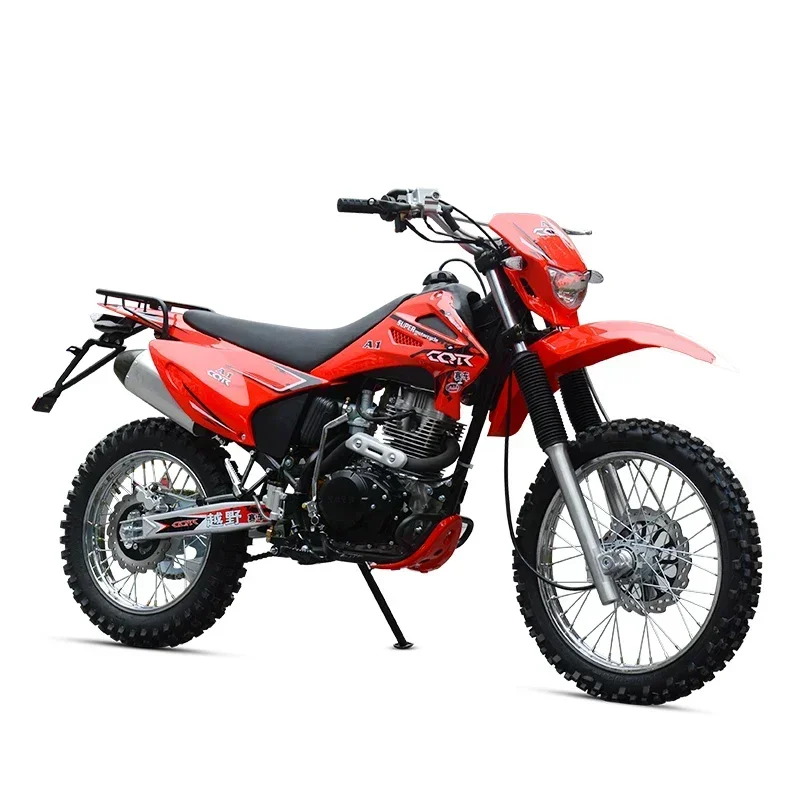
Limited Edition Legends: Indian Challenger and Boss Hoss
Indian Challenger RR King of The Baggers
The Indian Challenger RR stands as a limited edition legend with a tag of $92,229. It aligns with MotoAmerica series race standards. Only 29 units exist, making it highly exclusive. Inspiration comes from racer Tyler O’Hara’s bike. Each feature reflects the precision of championship racing.
Boss Hoss Limited Super Sport Big Block
The Boss Hoss is another legend in this exclusive list, with a price of $73,273. It houses an 8,128 cc engine, boasting 600 horsepower. This equates to mind-blowing power on the road. The bike showcases a vast 80-inch wheelbase. Its rarity and power make the Boss Hoss a prized possession for any collector.
These limited edition motorcycles define exclusivity and power. They are engineering feats for motorcycle enthusiasts. Collectors and riders looking for uniqueness will find these bikes irresistible. Their unmatched design and performance place them among the most prestigious bikes of 2024.
Engineering Marvels: Bimota TESI H2 and Ducati Streetfighter Collaborations
What is the most expensive motorcycle? Bimota TESI H2 merges Italian design with power for $72,000. Its lightweight aluminum structure and Kawasaki engine offer unmatched performance. The Bimota brand, known for exclusive bikes, has forged a unique path with this model. The TESI H2 stands out with its notable hub-center steering and striking aesthetics.
Ducati’s collaboration with Lamborghini gives us the Streetfighter V4 Lamborghini. At $68,000, it brings together speed and sublime car-inspired features. It sports carbon fiber from the Huracan STO, making it a collectible. Only 630 exist, adding to its allure.
These engineering marvels showcase the pinnacle of motorcycle craftsmanship. They offer a blend of performance and luxury that justifies their notable price tags. Riding either bike is sure to be an experience filled with prestige and exclusivity.
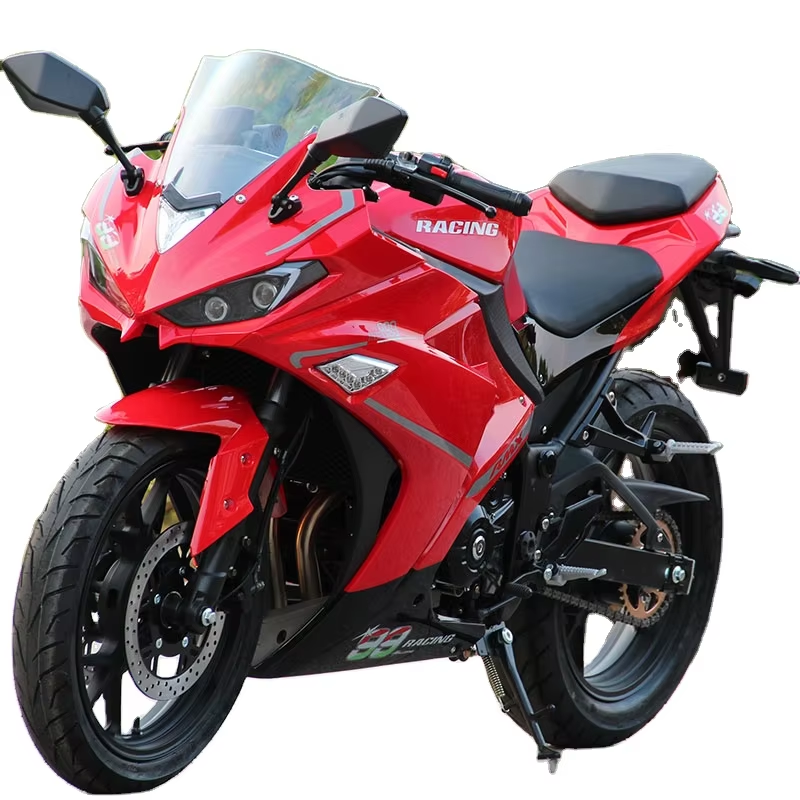
 Speed Demons: Kawasaki Ninja H2R and Ducati Panigale Dominance
For pure speed, few motorcycles compare to the Kawasaki Ninja H2R and the Ducati Panigale V4 R. These models epitomize the term ‘speed demons’ with their breathtaking performance and superb engineering.
Kawasaki Ninja H2R: Track-Only Powerhouse
The Kawasaki Ninja H2R is a force on the race track. Its bold design and 998 cc supercharged engine deliver thrilling speed. With a price of $58,100, this motorcycle is built for those who chase the rush of extreme velocity. Its not-street-legal status speaks to its pure racing DNA. Riders feel the surge of a 310 horsepower engine propelling them forward.
At speeds topping out over 200 mph, the H2R is a marvel. It has a carbon fiber body that slashes weight and aero drag. The sound of this bike is as impressive as its speed. The Ninja H2R is made for high-stakes racing and high-profile collectors.
Ducati Panigale V4 R: A Marvel of MotoGP Engineering
The Ducati Panigale V4 R closes the list at $45,495. It is inspired by Ducati’s racing heritage. This bike brings track technology to the street. Its 998 cc Desmosedici Stradale R engine is a marvel, derived from the world of MotoGP.
The Panigale V4 R doesn’t just look fast; it is fast. With high-revving energy and sharp handling, it dazzles on any road. Ducati’s commitment to performance and luxury is clear in every line. Whether it’s a country curve or a city street, this bike owns it.
The Kawasaki and Ducati are icons of speed and dominance on the list of the world’s most expensive motorcycles. They are prized by riders who want to experience the zenith of motorbike performance.
Electric Innovation: Cutting-Edge Motorcycles of the Future
What is the most expensive motorcycle? The future of motorcycling shines with electric innovation. Groundbreaking electric motorcycles are changing the game. Their sleek designs and clean energy appeal to modern riders. Here, cutting-edge tech meets eco-conscious performance.
Electric bikes represent the new era of riding. They push boundaries with rapid acceleration and quiet operation. Brands are investing in powerful batteries and motors. These bikes promise thrilling rides without emissions. Riders can look forward to advanced features unique to electric models.
Costs for these high-tech bikes can be steep. But they reflect the research and materials that go into them. Many come with custom options for personal touches. They are not just transportation; they are a statement of sustainability and style.
From speedy roadsters to luxury cruisers, electric motorcycles are diverse. They offer something for every taste. Some even connect to your smartphone for a seamless tech integration. The future of motorcycling looks bright and electric.
Leading the charge is Curtis Motorcycles with The 1. This bike is electric and powerful with a 217-horsepower motor. Waitlisted buyers prepare to pay $120,000 for delivery in 2024. Ducati is also set to stun with the Ducati Streetfighter V4 Lamborghini. This hybrid of brawn and beauty comes with a $68,000 price tag.
These futuristic rides challenge traditional motorcycling. They lead in eco-friendly innovation while delivering luxury experiences. Owning these bikes means embracing the future of riding with open arms.
Factors Driving the High Costs of Premium Motorcycles
The world’s most expensive motorcycles boast hefty price tags for many reasons. Craftsmanship, performance, and materials define their value. Here are the factors influencing their premium costs:
- Superior Craftsmanship: Each bike is a masterpiece. Experts spend hours crafting them to perfection. This painstaking work costs a lot.
- Performance Specs: Machines like the Combat Motors Wraith offer top speed and power. These specs demand advanced engineering, which means higher costs.
- Exotic Materials: Carbon fiber, titanium, and billet aluminum are common. These materials are pricey but ensure a light, strong bike.
- Research and Development: Innovative features come from intensive research. Brands invest in technology to stay ahead. This investment reflects in the bike’s price.
- Limited Editions: Many bikes are rare or one-of-a-kind. Scarcity drives up their value. Collectors pay more for exclusivity.
- Customization Options: Buyers can tailor bikes to their tastes. This personal touch adds to the cost.
- Brand Prestige: Names like Ducati and Kawasaki carry weight. A prestigious brand often means a premium price.
- Advanced Electronics: The latest bikes have sophisticated tech. GPS, ride modes, and even smartphone connectivity are features that add to the price.
- Eco-Friendly Engineering: Electric models like Curtis’s The 1 use costly batteries and motors. But they offer cutting-edge, clean performance.
These factors culminate in motorcycles that are much more than transport. They are symbols of status, innovation, and the thrill of riding. For the wealthy who value the finest things, cost is second to the experience these motorcycles deliver.
 Conclusion: The Allure of High-End Motorcycling
The most expensive motorcycles of 2024 charm the elite. They are symbols of status, power, and lavish taste. For these buyers, a motorcycle is more than a ride. It’s a piece of art, a fashion statement, and a showcase of elite engineering. Names like Combat Motors Wraith and Ducati Streetfighter represent more than speed. They offer a rare experience, a mix of luxury and adrenaline.
These motorcycles bring dreams of speed and freedom to life. With sleek lines, roaring engines, and cutting-edge tech, they catch everyone’s eye. They are not common. These bikes are the dreams of the rich and the wishes of many. They cost much, but they offer unmatched joy. Each ride is a thrill, each look a pleasure.
High-end motorcycling shines with innovation. Electric bikes from brands like Curtis are shaping a new, clean, and fast future. These machines blend green tech and speed, offering a guilt-free way to enjoy the roads. With electric bikes, riding is not just about feeling the wind. It is also about saving the planet.
To own these bikes is to hold a piece of history and a slice of the future. For those who can, it’s an investment in passion and luxury. Most can only dream, but for a few, these motorcycles are a reality, a part of their world where cost is no barrier to the ultimate ride.
 Motorcycle Permit Restrictions
 Safety and Legal Considerations
 Ways to Save on Motorcycle Insurance
 Final Thoughts: Protecting Your Ride in the Lone Star State
 The Advantages of Taking a Formal Motorcycle Riding Course
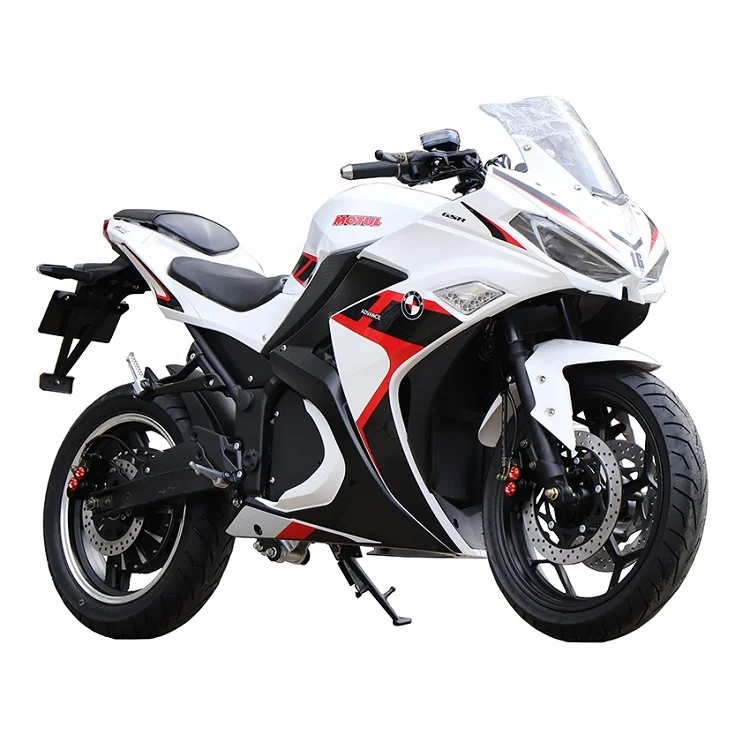 Final Steps After Passing the Road Test
 Considering Motorcycle Types: Supersport vs. Sport-Touring vs. Cruisers
 Top Recommended 600cc motorcycle for beginners
 Performing Basic Repairs at Home
 Challenges and Considerations
 Maintenance Accessories
 Community Initiatives for Motorcycle Safety

 Choosing the Right Electric Trike