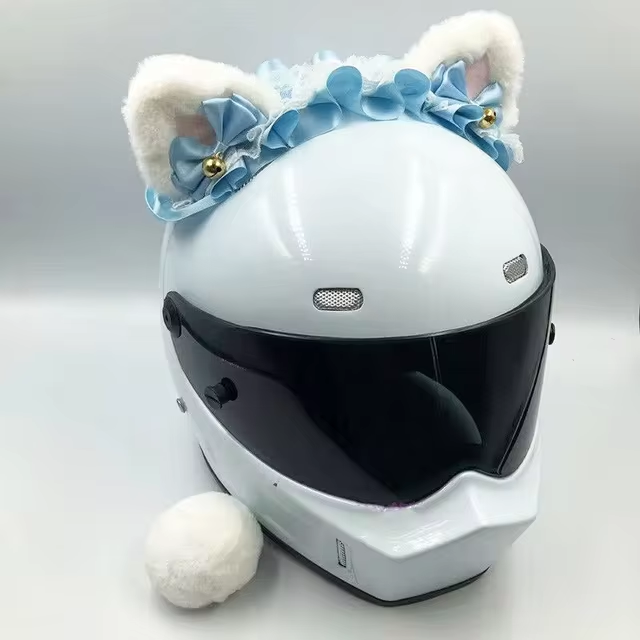
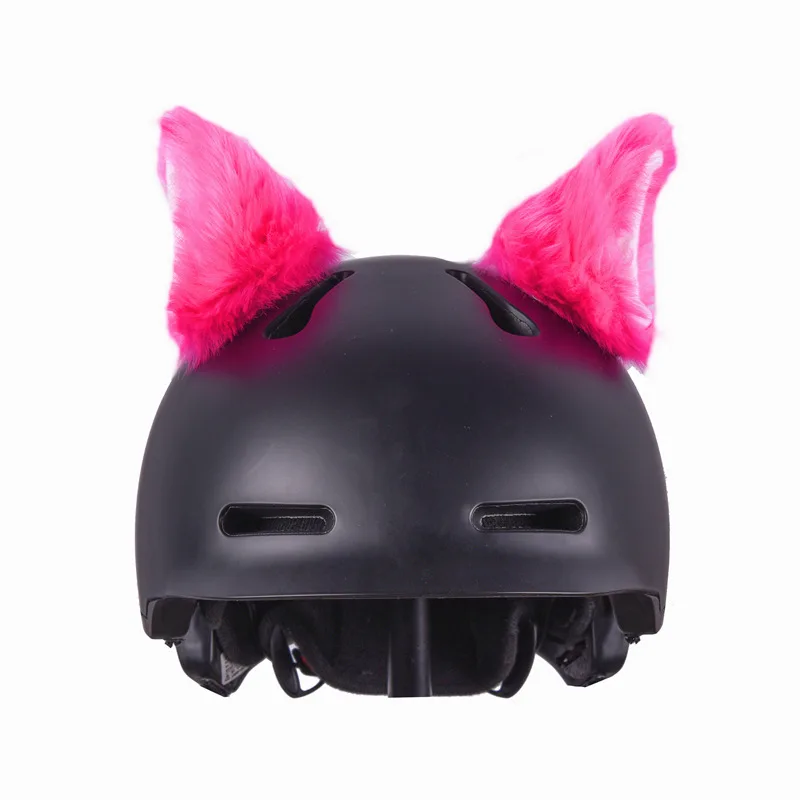
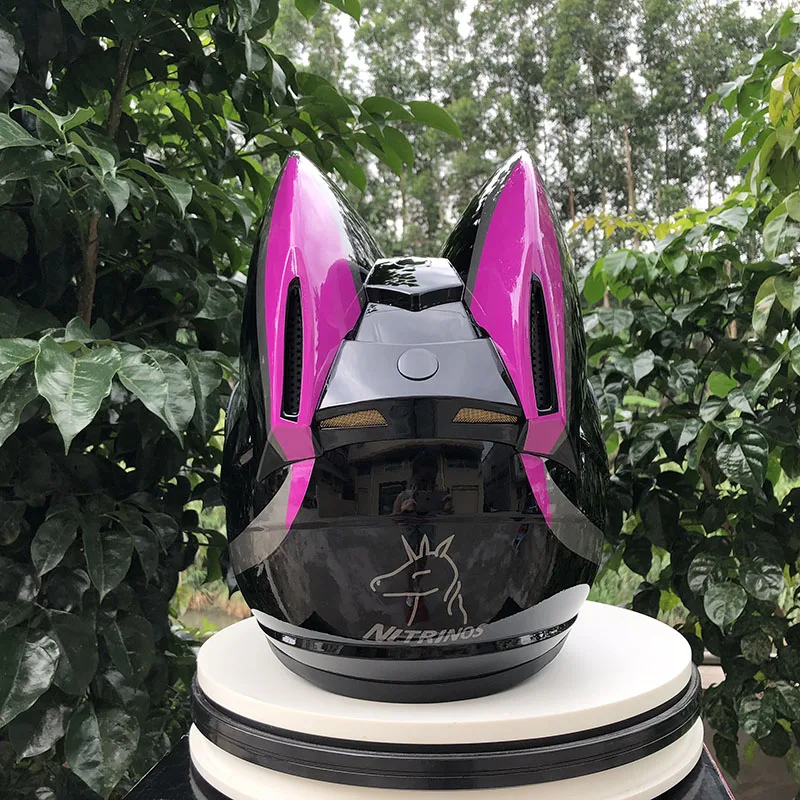
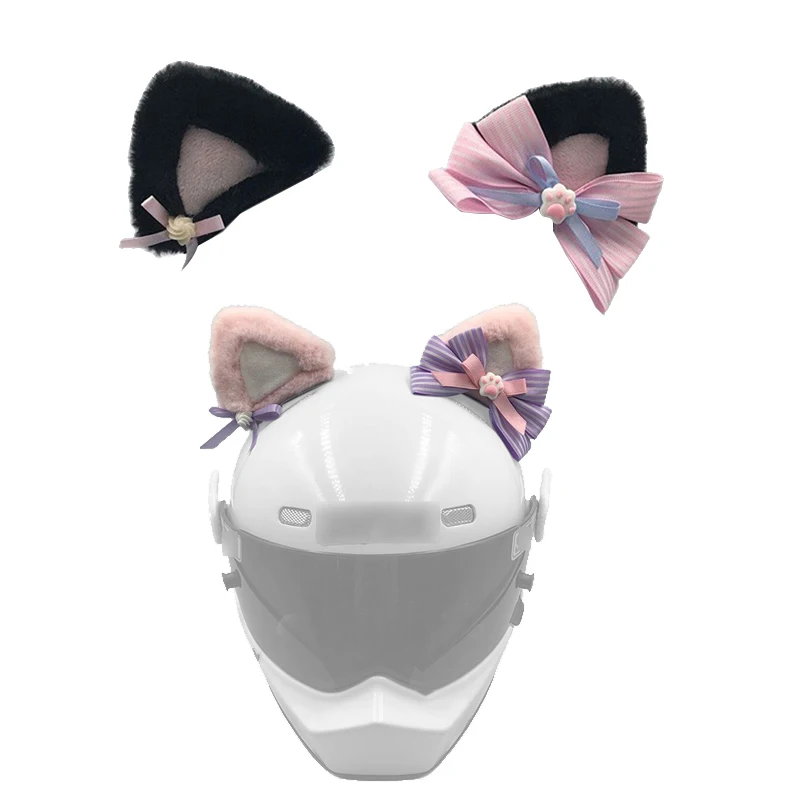
How to clean Bike helmet with cat ears? Maintaining the cleanliness of your bike helmet not only ensures its longevity but also guarantees your safety during rides. Helmets with unique features, such as cat ears, require special attention to preserve both their functionality and aesthetic appeal. This comprehensive guide will walk you through the step-by-step process of effectively cleaning a bike helmet with cat ears(Japanese: 猫耳付きバイクヘルメット), ensuring it remains in optimal condition for every adventure.
Preparing to Clean Your Helmet
Proper preparation is vital to ensure an effective and safe cleaning process. Gathering the right supplies and following safety precautions will make the task smoother and prevent potential damage to your helmet.
Gather Necessary Supplies
Before you begin, ensure you have the following items:
- Mild Soap or Detergent: Avoid harsh chemicals that can damage the helmet’s materials.
- Soft Cloths or Sponges: To prevent scratching the helmet’s surface.
- Soft Brush: For detailed areas, especially around the cat ears.
- Water: Preferably lukewarm to avoid temperature shocks.
- Bowl or Basin: For mixing the cleaning solution.
- Microfiber Towel: For drying.
- Hairdryer (optional): To speed up the drying process, set on low heat.
Safety Precautions
Taking necessary safety steps can prevent accidents and damage:
- Disconnect Electrical Components: If your helmet has built-in lights or electronic features.
- Avoid Submerging the Helmet: Especially if it contains electronic parts.
- Work in a Well-Ventilated Area: To disperse any odors from cleaning solutions.
- Wear Gloves: To protect your hands from prolonged exposure to cleaning agents.
Step-by-Step Cleaning Process
How to clean Bike helmet with cat ears? Following a structured cleaning process ensures that every part of your helmet is thoroughly cleaned without causing damage.
Removing Accessories and Parts
Start by detaching any removable parts:
- Straps and Buckles: Unbuckle and remove them from the helmet.
- Visors or Shields: If removable, take them off for separate cleaning.
- Accessories: Detach any decorative elements attached to the cat ears.
By removing these parts, you can clean each component individually, ensuring no area is overlooked.
Cleaning the Outer Shell
The outer shell is the first line of defense, so keeping it clean is paramount:
- Mix Cleaning Solution: Combine a small amount of mild soap with lukewarm water in your bowl or basin.
- Wipe Down the Shell: Dip a soft cloth or sponge into the solution, wring out excess water, and gently wipe the helmet’s exterior.
- Use a Soft Brush for Stubborn Spots: For areas with dirt buildup, especially around the cat ears, use a soft brush to gently scrub.
- Rinse with Clean Water: Use a separate cloth dampened with clean water to remove any soap residue.
- Dry the Shell: Pat the helmet dry with a microfiber towel, ensuring no moisture remains.
Cleaning the Interior Lining
The interior requires careful handling to maintain comfort and hygiene:
- Check for Removable Pads: Some helmets have removable interior padding. If yours does, take them out.
- Wash the Pads Separately: Hand wash the pads with mild soap and lukewarm water, gently scrubbing to remove sweat and oils.
- Air Dry Completely: Allow the pads to dry thoroughly before reinserting them into the helmet to prevent mold or mildew growth.
- Wipe the Interior Surface: For non-removable linings, use a damp cloth with mild soap to gently clean the interior.
- Ensure Complete Dryness: Use a dry towel or allow the helmet to air dry naturally before wearing.
Addressing the Cat Ears
The cat ears are unique features that add flair to your helmet, so special care is needed:
- Inspect for Dirt and Debris: Examine the ears for any embedded dirt or particles.
- Use a Soft Brush: Gently brush the ears with a soft brush or cloth dipped in the cleaning solution.
- Avoid Excess Moisture: Ensure that water doesn’t seep into the attachment points or electronic components, if any.
- Spot Clean Stains: For any stubborn stains, apply a small amount of detergent directly and gently scrub.
- Dry Thoroughly: After cleaning, ensure the cat ears are completely dry to prevent discoloration or material weakening.
Drying and Reassembling the Helmet
Proper drying is crucial to prevent mold and ensure the helmet remains in good condition. Reassembling should be done carefully to maintain the helmet’s integrity and functionality.
Ensuring Complete Dryness
After cleaning, make sure every part of the helmet is dry:
- Air Dry in a Ventilated Area: Place the helmet in a well-ventilated space away from direct sunlight to prevent warping.
- Use a Microfiber Towel: Gently pat the helmet to remove excess moisture.
- Utilize a Hairdryer on Low Heat (Optional): For faster drying, use a hairdryer set to a low heat setting, keeping it at a safe distance to avoid overheating.
Reattaching Accessories
Once dry, carefully reassemble your helmet:
- Reattach the Straps and Buckles: Ensure they are securely fastened and adjusted to fit comfortably.
- Install Visors or Shields: If you removed a visor, place it back into its designated slot, ensuring it locks in place.
- Reattach Decorative Elements: Secure any accessories back onto the cat ears, ensuring they are firmly attached.
Double-check each component to ensure everything is properly in place and functioning as intended.
Tips for Maintaining a Clean Helmet
Regular maintenance can extend the life of your helmet and ensure it remains safe and stylish.
Regular Maintenance Schedule
Establishing a cleaning schedule helps keep your helmet in top condition:
- After Every Ride: Wipe down the helmet to remove sweat and debris.
- Weekly Deep Clean: Perform a thorough cleaning session to address areas that aren’t covered during regular maintenance.
- Monthly Inspections: Check for signs of wear and tear, ensuring that all components are secure and intact.
Storage Advice
Proper storage prevents unnecessary damage and keeps your helmet clean:
- Avoid Direct Sunlight: Prolonged exposure can degrade the materials and fade colors.
- Store in a Cool, Dry Place: This prevents mold growth and maintains the helmet’s integrity.
- Use a Helmet Bag: When not in use, keep your helmet in a protective bag to shield it from dust and scratches.
Avoiding Common Mistakes
Steering clear of typical cleaning errors can save your helmet from damage:
- Using Harsh Chemicals: These can weaken materials and cause discoloration. Stick to mild soaps.
- Rough Scrubbing: Aggressive cleaning can scratch or deform the helmet’s surface. Use gentle motions.
- Ignoring Manufacturer Instructions: Always refer to the helmet’s manual for specific cleaning guidelines tailored to its design and materials.
Advanced Cleaning Techniques for Stubborn Stains
Sometimes, regular cleaning methods may not suffice, especially when dealing with persistent stains or odors. Here are some advanced techniques to handle such challenges effectively.
Dealing with Hard-to-Remove Stains
Stubborn stains can be particularly challenging, but with the right approach, they can be eliminated:
- Create a Baking Soda Paste: Mix baking soda with a small amount of water to form a paste.
- Apply to Stains: Gently rub the paste onto the stained areas using a soft cloth.
- Let it Sit: Allow the paste to work on the stain for about 15 minutes.
- Rinse Thoroughly: Remove the paste with a clean, damp cloth, ensuring no residue remains.
- Repeat if Necessary: For persistent stains, repeat the process until the stain is fully removed.
Eliminating Odors
Unpleasant odors can accumulate over time, especially from sweat and moisture. Here’s how to freshen your helmet:
- Use White Vinegar Solution: Mix one part white vinegar with two parts water.
- Wipe the Interior: Apply the solution to the interior lining with a cloth, avoiding soaking.
- Sprinkle Baking Soda: After the solution dries, sprinkle a light layer of baking soda inside to absorb remaining odors.
- Let it Sit Overnight: Allow the baking soda to absorb odors overnight.
- Brush Off Excess: Remove the baking soda with a soft brush or cloth the next day.
Restoring Faded Colors
Exposure to the elements can cause your helmet’s colors to fade. To revive its original vibrancy:
- Use Fabric or Leather Paints: Match the helmet’s color and apply carefully to the faded areas.
- Apply a Clear Sealant: Once the paint dries, use a clear sealant to protect the color from future fading.
- Uniform Application: Ensure even coverage to maintain the helmet’s aesthetic appeal.
Maintaining the Structural Integrity of Your Helmet
Cleaning is not just about aesthetics; it’s crucial to preserve the helmet’s structural integrity to ensure safety.
Inspecting for Cracks and Damage
Regular inspections can catch potential issues early:
- Visual Inspection: Look for any cracks, dents, or deformation in the outer shell.
- Check Fasteners: Ensure that straps and buckles are free from rust or damage.
- Examine Interior Padding: Look for signs of wear, compression, or detachment.
If you notice any damage, it’s advisable to replace the helmet to maintain maximum safety standards.
Avoiding Excessive Cleaning
While cleanliness is essential, over-cleaning can wear down materials:
- Limit Deep Cleans: Reserve thorough cleaning for once a week or as needed, rather than after every single ride.
- Use Gentle Products: Stick to mild soaps and avoid alcohol-based cleaners that can degrade materials.
- Dry Properly: Ensure complete drying to prevent moisture-related damage, which can weaken structural components.
Troubleshooting Common Cleaning Issues
Even with a careful approach, you might encounter challenges while cleaning your helmet. Here are solutions to some common problems.
Persistent Odors After Cleaning
If odors linger despite cleaning:
- Deep Clean the Interior: Remove and thoroughly clean any removable pads or liners.
- Use Odor Absorbers: Place activated charcoal or odor-neutralizing sachets inside the helmet when not in use.
- Sunlight Exposure: Briefly expose the helmet to indirect sunlight to help eliminate odors naturally.
Stains That Won’t Come Out
Some stains may be resistant to standard cleaning methods:
- Use Specialized Cleaners: Products designed for stubborn stains can be more effective.
- Apply Enzyme Cleaners: These break down organic stains like sweat and oils.
- Consult the Manufacturer: For difficult stains, seek advice to avoid damaging the helmet.
Damage Caused by Excessive Cleaning
Overzealous cleaning can sometimes harm the helmet:
- Inspect for Wear: After extensive cleaning, check for any signs of material weakening.
- Adjust Cleaning Frequency: Scale back if you notice negative effects from frequent cleaning.
- Use Gentle Techniques: Opt for methods that prioritize the helmet’s preservation over aesthetic perfection.
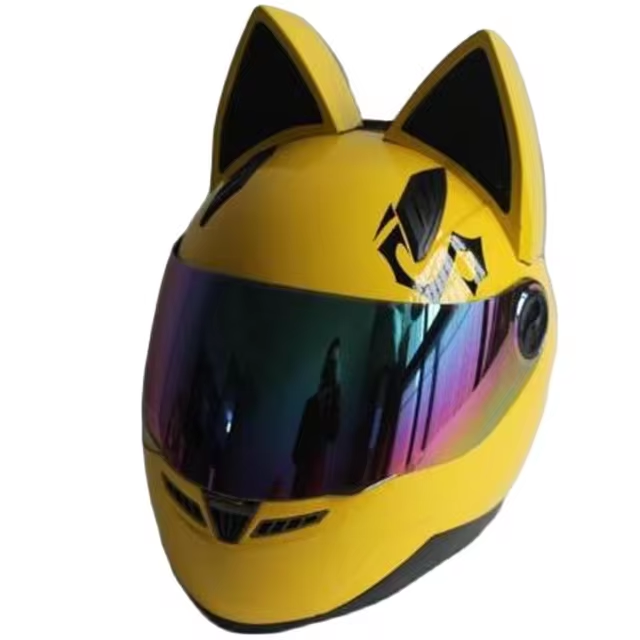 How to Clean Bike Helmet with Cat Ears
In conclusion, mastering the art of cleaning your bike helmet with cat ears involves understanding its unique structure, preparing appropriately, and following a meticulous cleaning process. By addressing each component with care, from the outer shell and interior lining to the distinctive cat ears, you ensure your helmet remains not only visually appealing but also safe and functional. How to clean Bike helmet with cat ears? Regular maintenance, combined with eco-friendly practices and mindful troubleshooting, extends the lifespan of your helmet and enhances your riding experience. Whether you’re a casual cyclist or an avid rider, adopting these cleaning strategies will keep your bike helmet with cat ears in pristine condition, ready to accompany you on countless adventures ahead.

