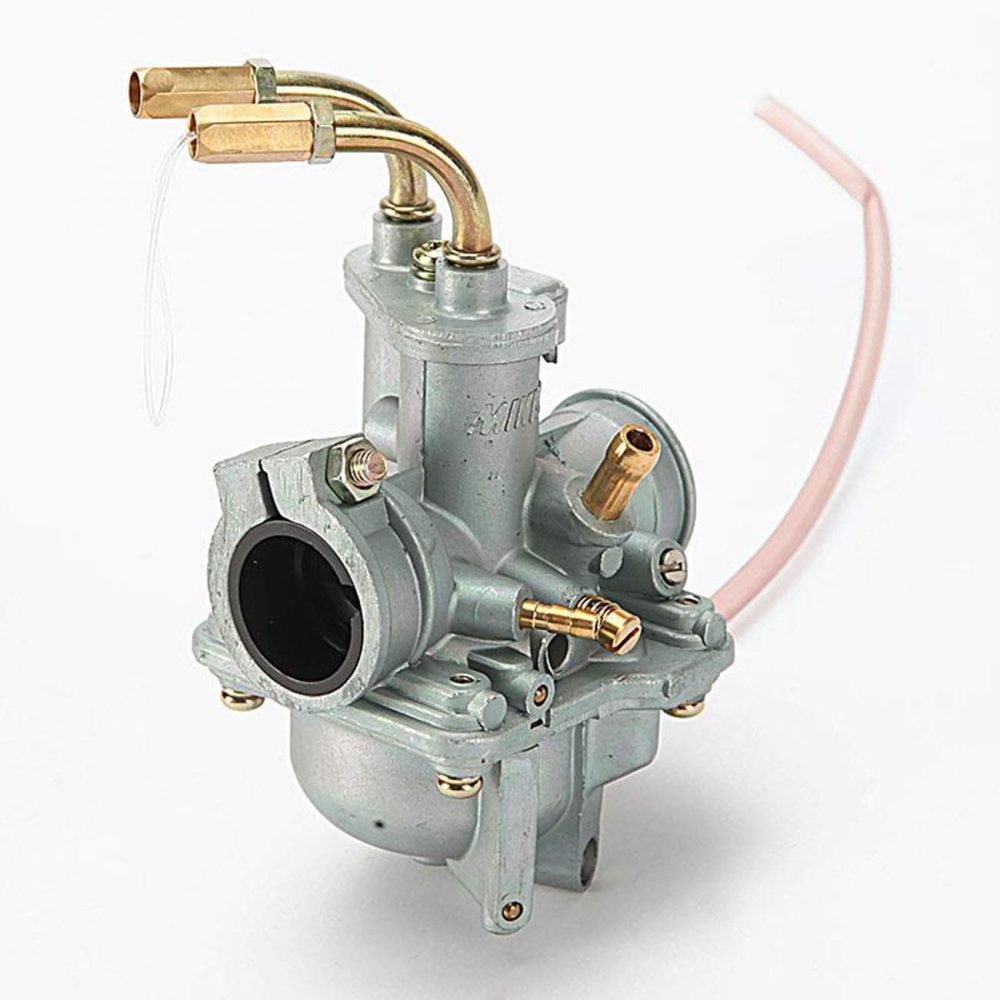
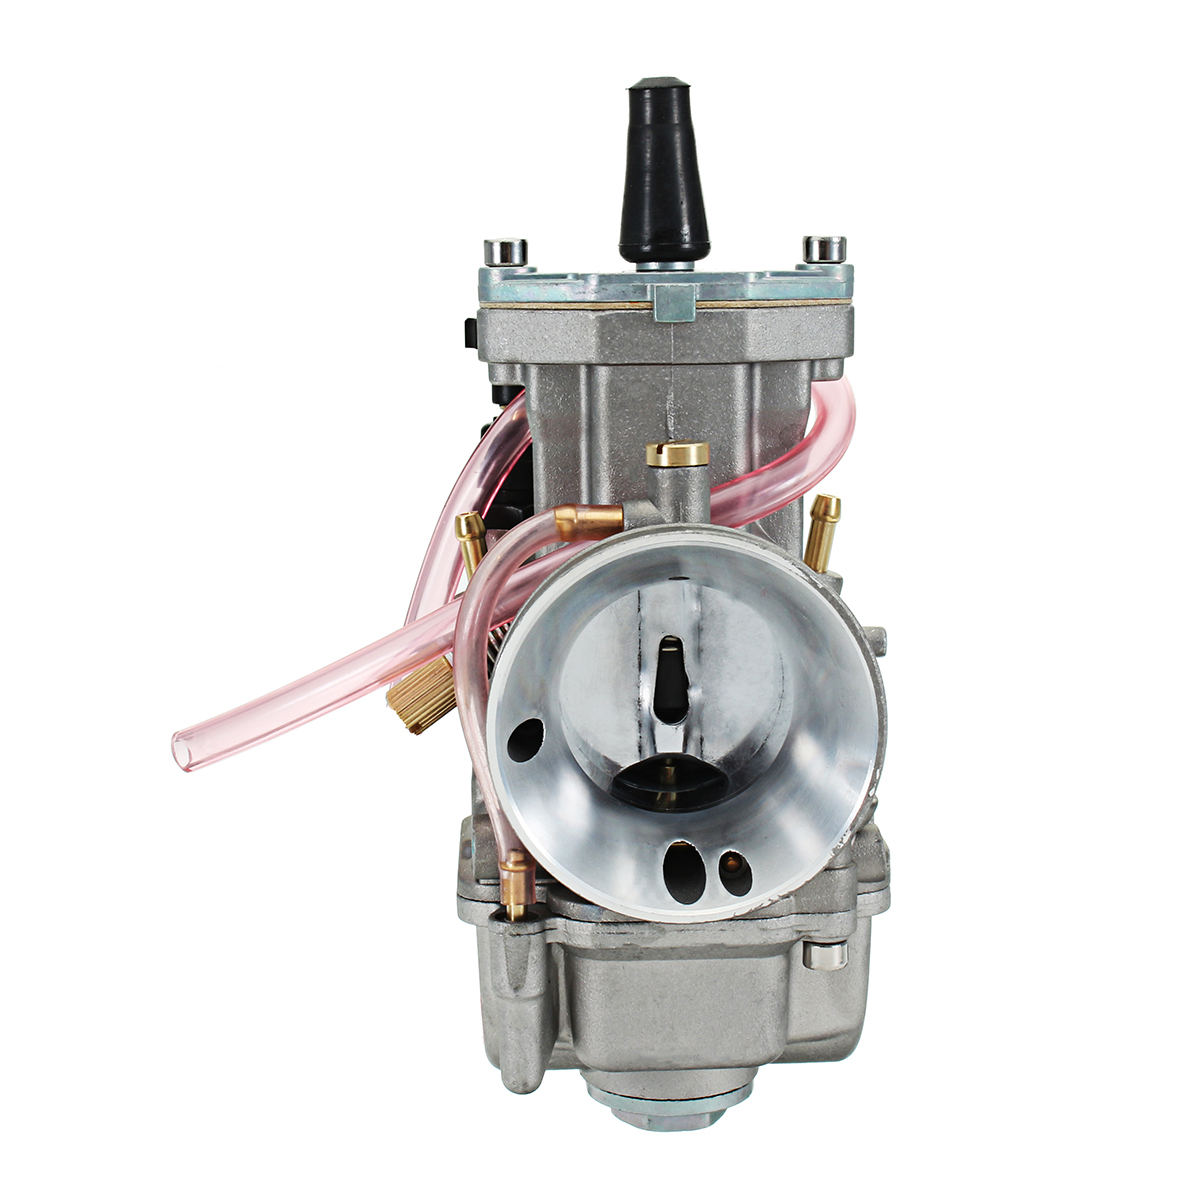
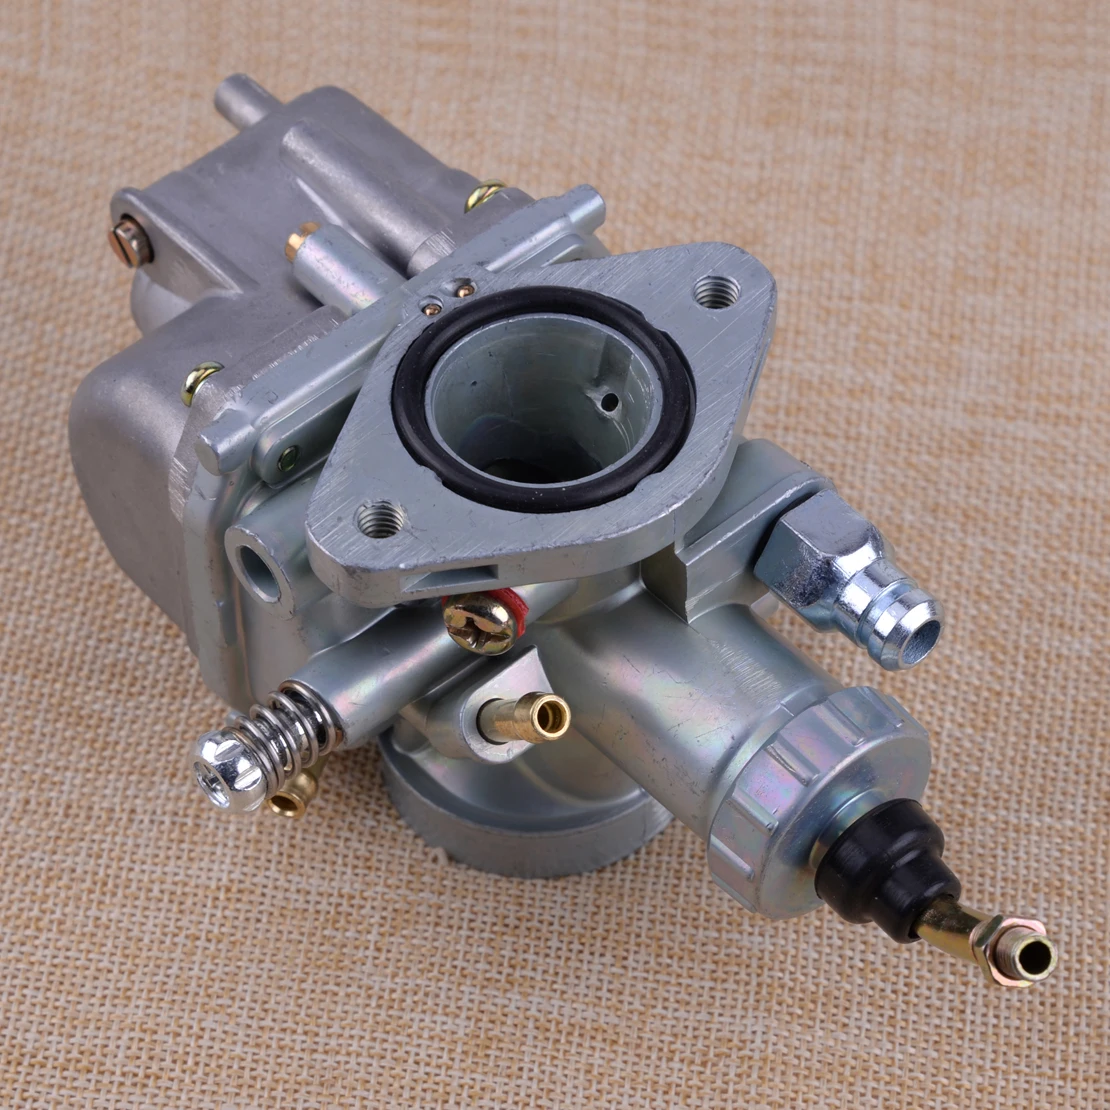
A dirty or clogged carburetor can vastly affect the performance of your motorcycle, causing it to run poorly, misfire, or even fail to start. Knowing how to clean motorcycle carburetor properly ensures that your bike runs smoothly and efficiently. This guide will take you through detailed steps, from preparation to reassembly, offering specific tips and techniques for a thorough cleaning process. Dive in to uncover the best practices and keep your motorcycle performing at its peak.
Understanding the Importance of a Clean Carburetor
Understanding why you need to keep the carburetor clean helps emphasize the importance of regular maintenance.
- Optimal Performance: A clean carburetor ensures the right mix of air and fuel, leading to optimal engine performance and efficiency.
- Starting Reliability: Cleaning the carburetor prevents starting issues and helps the bike start more reliably.
- Fuel Efficiency: By maintaining a clean Motorcycle carburetor, you ensure better fuel efficiency, which can save money over time.
- Reduced Emissions: A well-maintained carburetor helps in reducing the emissions produced by the motorcycle, contributing to a cleaner environment.
Recognizing the benefits motivates regular cleaning and upkeep of your motorcycle’s carburetor.
Preparing for the Cleaning Process
Proper preparation is crucial for a successful carburetor cleaning. Follow these initial steps to set the stage for an effective cleaning session.
- Gather Tools and Supplies: You’ll need a carburetor cleaner, basic hand tools (screwdrivers, wrenches), compressed air, a clean workspace, and protective gear like gloves and safety glasses.
- Disconnect the Battery: Ensure safety by disconnecting the motorcycle’s battery to prevent any accidental electrical discharge.
- Turn Off Fuel Supply: Turn off the fuel supply from the fuel tank to avoid spills and leaks during the removal process.
- Consult the Manual: Refer to your motorcycle’s manual for specific instructions related to carburetor removal and cleaning.
Preparing thoroughly ensures a smooth and safe cleaning process, reducing the likelihood of mishaps.
Removing the Carburetor
Removing the carburetor safely and efficiently is the next crucial step. Here’s how to do it:
- Locate the Carburetor: Find the carburetor, typically positioned between the fuel tank and the engine.
- Detach Fuel Lines: Carefully detach the fuel lines connected to the carburetor. Use pliers to loosen any clamps, if necessary.
- Remove Throttle Linkage: Carefully unhook the throttle and choke linkages from the carburetor without stretching or damaging the cables.
- Unscrew Mounting Bolts: Use a wrench or screwdriver to remove the mounting bolts securing the carburetor to the engine.
- Extract the Carburetor: Gently pull the carburetor away from the motorcycle, ensuring you do not damage surrounding components.
Removing the carburetor carefully prevents damage to critical parts and facilitates a more efficient cleaning process.
Disassembling the Carburetor
Disassembling the carburetor allows you to clean each component thoroughly. Follow these steps:
- Work in a Clean Area: Ensure you’re working in a clean, well-lit area to keep track of all small parts.
- Remove the Float Bowl: Unscrew and remove the float bowl, which is the bottom part of the carburetor that holds a small amount of fuel.
- Take Out the Jets: Carefully remove the main jet and pilot jet using a flathead screwdriver. These small parts can clog easily and require thorough cleaning.
- Disassemble the Floats: Remove the float and needle valve carefully, as these are delicate parts crucial for fuel regulation.
- Separate Other Components: Disassemble other accessible components, such as the choke and throttle valves.
Disassembling meticulously ensures you can clean each part comprehensively and prevents losing any small pieces.
Cleaning the Carburetor Body and Components
Thoroughly cleaning the carburetor body and its components is essential for optimal function. Here’s how to do it:
- Spray with Carb Cleaner: Generously spray carburetor cleaner into all orifices and openings of the carburetor body to dissolve grease and residues.
- Use Compressed Air: Blow compressed air through all passages and jets to clear out loosened debris and ensure they are not clogged.
- Soak Stubborn Parts: Soak any particularly dirty or clogged parts in a bowl of carburetor cleaner for 30 minutes to break down stubborn deposits.
- Scrub Gently: Use a soft brush or nylon bristle brush to scrub the components, making sure not to damage any delicate parts.
- Rinse and Dry: Rinse the components with clean water (if manufacturer’s instructions allow) and dry thoroughly using compressed air or a clean cloth.
Cleaning each component thoroughly and using the right tools ensures no residue is left that could impair the carburetor’s function.
Reassembling the Carburetor
Reassembling the carburetor correctly is crucial to restoring its function. Follow these steps for proper reassembly:
- Reattach Floats and Needle Valve: Carefully reassemble the float and needle valve, ensuring they are positioned correctly.
- Insert the Jets: Place the main jet and pilot jet back in their respective positions, tightening them securely but not over-tightening.
- Replace the Float Bowl: Reattach the float bowl and ensure it is sealed properly to prevent fuel leaks.
- Reassemble Other Components: Reassemble other components, such as the choke and throttle valves, in the correct order.
- Double-Check Assembly: Double-check your assembly against the manual to ensure all parts are correctly fitted and secured.
Proper reassembly is essential to ensure the carburetor functions correctly and efficiently.
Installing the Carburetor Back on the Motorcycle
Reinstalling the carburetor correctly is the final step before testing. Follow these steps:
- Position the Carburetor: Position the carburetor back into place between the engine and the fuel tank.
- Secure with Mounting Bolts: Use the mounting bolts to secure the carburetor in place, ensuring it is tight and stable.
- Reconnect Fuel Lines: Reattach the fuel lines to the carburetor, tightening any clamps securely to prevent leaks.
- Attach Throttle Linkage: Reconnect the throttle and choke linkages, ensuring they move freely without any obstruction.
- Test for Leaks: Turn on the fuel supply and check for any leaks before reconnecting the battery.
Reinstalling the carburetor carefully ensures everything is securely in place and ready for testing.
Testing the Cleaned Carburetor
Testing the carburetor after cleaning ensures it functions as expected. Here’s how to do it:
- Reconnect the Battery: Reconnect the battery to restore electrical power to the motorcycle.
- Turn on Fuel Supply: Turn on the fuel supply and prime the carburetor if necessary by opening the fuel valve.
- Start the Motorcycle: Start the motorcycle and let it idle. Listen for any unusual noises and observe the engine’s idle behavior.
- Check Throttle Response: Twist the throttle to check the engine’s response. It should respond smoothly without hesitation.
- Inspect for Leaks: Run the engine for a few minutes and inspect the carburetor area for any signs of fuel leaks.
Testing ensures the carburetor is working properly and the cleaning process was successful.
 Regular Maintenance Tips
Maintaining a clean carburetor involves regular care and preventive measures. Follow these tips:
- Use Clean Fuel: Always use clean, high-quality fuel to prevent contaminants from clogging the carburetor.
- Install a Fuel Filter: Add a fuel filter if your motorcycle doesn’t have one to catch debris before it reaches the carburetor.
- Run the Engine Regularly: Run your motorcycle regularly to keep the fuel flowing and prevent stagnation and buildup.
- Store Properly: If storing your motorcycle for extended periods, use a fuel stabilizer to prevent varnish buildup in the carburetor.
- Scheduled Cleaning: Incorporate carburetor cleaning into your regular maintenance schedule, ideally once a year or as needed.
Regular maintenance helps ensure the carburetor remains clean and functions efficiently, avoiding major issues.
Troubleshooting Common Carburetor Issues
Sometimes, even after cleaning, you may encounter issues with your carburetor. Here’s how to troubleshoot common problems:
- Hard Starting: If the motorcycle is hard to start, check the choke operation and ensure the jets are not clogged.
- Rough Idling: Rough idling may indicate air leaks. Inspect the carburetor gaskets and hoses for any signs of wear or damage.
- Poor Acceleration: If acceleration is sluggish, ensure the throttle and choke linkages are correctly adjusted and functioning smoothly.
- Fuel Leaks: Persistent fuel leaks may require inspecting the float and needle valve for improper seating or damage.
- Engine Stalling: If the engine stalls frequently, verify that the air-fuel mixture is correct and there are no obstructions in the fuel passages.
Troubleshooting these common issues helps ensure your motorcycle’s carburetor functions effectively.
Leveraging Professional Help
Sometimes you may need professional assistance for more complex issues. Here’s when to consider it:
- Recurring Problems: If you encounter recurring issues despite regular cleaning, it might be time to seek professional help.
- Complex Repairs: For complex repairs or if you’re not confident in your ability to fix the problem, consulting a professional ensures reliable repairs.
- Annual Check-Up: Schedule an annual check-up with a professional mechanic to ensure your motorcycle remains in top condition.
Recognizing when to seek professional help ensures your motorcycle remains in optimal working condition.
Conclusion
How to Clean Motorcycle Carburetor?
Knowing how to clean motorcycle carburetor is essential for any motorcycle owner. A clean motorcycle carburetor ensures optimal performance, better fuel efficiency, and a smooth-running engine. This comprehensive guide covers everything from preparation and disassembly to cleaning, reassembly, and testing. By following these steps and maintaining regular care, you can keep your motorcycle in peak condition and enjoy smooth rides every time. Happy riding!


