
Maintaining your motorcycle’s brake system is crucial for ensuring safe riding experiences. One of the vital maintenance tasks is bleeding the brakes, a process that removes air bubbles from the brake lines to allow for responsive and effective braking. But how do you properly bleed motorcycle brakes? This detailed guide will walk you through the steps and provide essential tips to make sure your bike’s braking system functions optimally.
Understanding the Importance of Bleeding Brakes
Bleeding your motorcycle brakes is a mandatory maintenance process that should not be overlooked. Air bubbles trapped in the brake lines can significantly reduce braking efficiency, leading to a spongy feel at the lever, delayed braking response, and ultimately reduced safety on the road.
When you depress the brake lever or pedal, the brake fluid exerts pressure on the pistons located in the calipers, clamping down on the brake pads and slowing the motorcycle. If there is air in the system, it compresses under pressure, which disrupts this fluid-pressure relationship. This can cause the brake lever to feel soft or squishy, diminishing your brake power and control.
Regularly bleeding your brakes also helps remove any old brake fluid, which can absorb moisture over time and reduce its boiling point. This lowered boiling point increases the risk of brake fade during heavy braking situations, which can be particularly dangerous. Therefore, understanding and performing brake bleeding is paramount for maintaining both brake performance and overall riding safety.
Gathering the Necessary Tools and Materials
Before starting the process of bleeding motorcycle brakes, gathering the necessary tools and materials is crucial. You’ll need a few specific items to ensure the process goes smoothly.
- Brake Fluid: Ensure you have the correct type for your motorcycle. Refer to your owner’s manual to confirm whether you need DOT 3, DOT 4, or DOT 5.1 brake fluid.
- Wrenches: Typically, a combination wrench that matches the bleeder valve size is required.
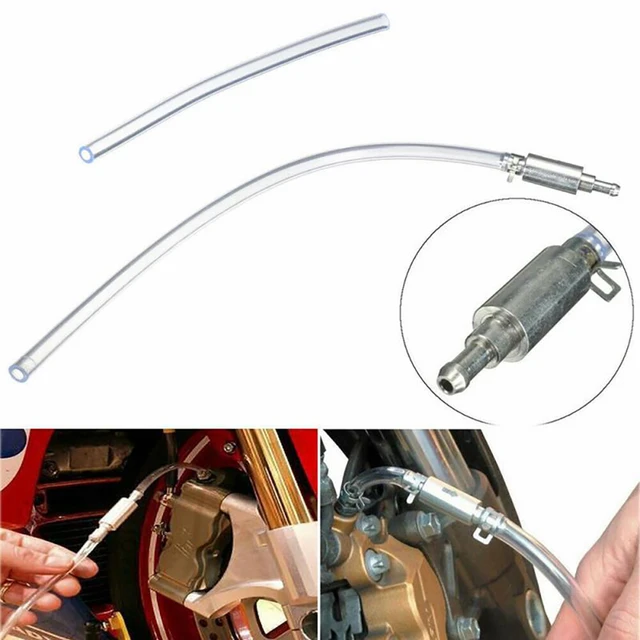
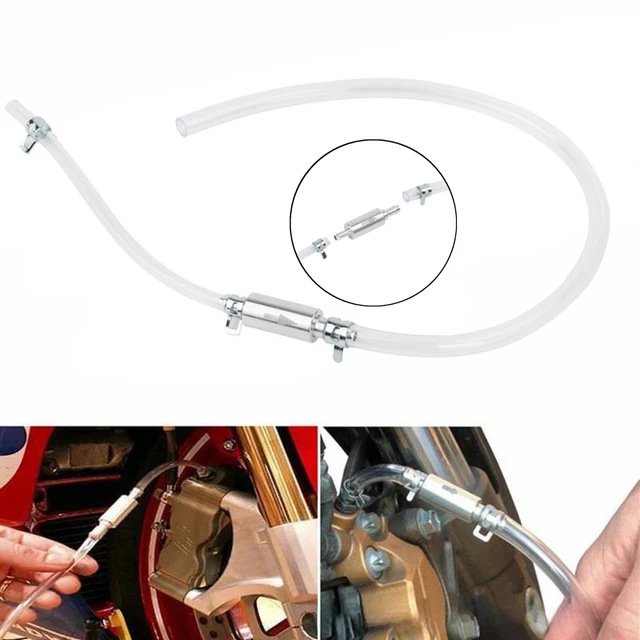
- Clear Tubing: A piece of clear plastic tubing to fit over the bleeder valve.
- Catch Container: A small container to catch the old brake fluid being expelled.
- Brake Bleeder Kit (optional): Tools like a vacuum pump or pressure bleeder can make the job easier but are not strictly necessary.
Having all these tools and materials organized and ready will save you time and make the bleeding process much more straightforward.
Preparing Your Motorcycle
Proper preparation of your motorcycle ensures a smooth and efficient brake bleeding process. Start by positioning your motorcycle on a stable, flat surface using a center stand or a motorcycle lift to keep it upright and stable.
Next, remove the brake reservoir cover. Be cautious while doing this to avoid spilling brake fluid, as it can damage paint and plastic surfaces. Ensure that the brake fluid level is adequate in the reservoir and top it off if necessary. Having an assistant available to monitor and replenish the fluid during the bleeding process can be very helpful.
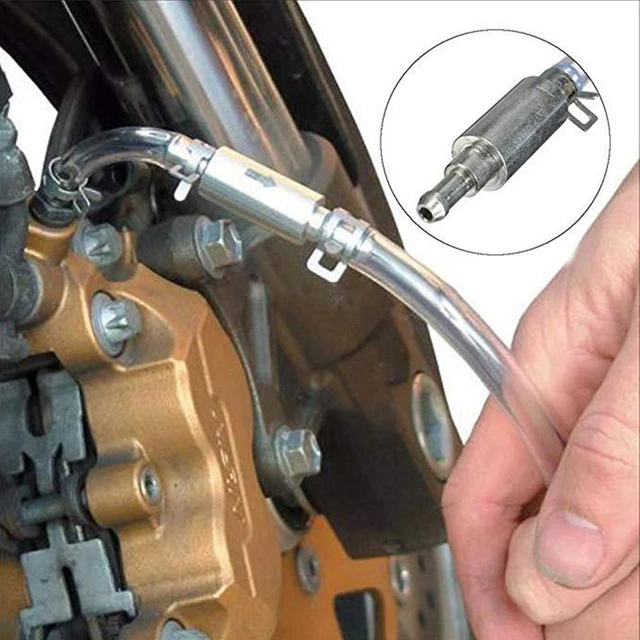
Attach one end of the clear plastic tubing to the bleeder valve located on the brake caliper. Place the other end into the catch container to collect the expelled brake fluid. Ensuring the tube is firmly connected to the valve and well-placed within the container will prevent spills and messes.
The Bleeding Process
With everything set up, you can proceed with the actual bleeding of the brakes. Start with the brake system furthest from the master cylinder, typically the rear brake, and then move on to the front brakes.
- Open the Bleeder Valve: Use the appropriate wrench to loosen the bleeder valve slightly. Be careful not to open it too much; a quarter turn is usually sufficient.
- Pump the Brake Lever: Have your assistant pump the brake lever or pedal several times until resistance builds up, then hold the lever or pedal down.
- Release Fluid: As the lever or pedal is held down, open the bleeder valve to allow the brake fluid and air bubbles to escape into the clear tubing and catch container. Once the flow slows down, close the valve before your assistant releases the brake lever or pedal to prevent air from being sucked back into the system.
- Repeat the Process: Continue this process until you see a steady stream of clear, bubble-free brake fluid flowing through the tubing. Ensure the brake fluid reservoir is topped up throughout this process to avoid running dry and introducing more air into the system.
- Move to the Front Brakes: Once the rear brake is properly bled, repeat the same steps for the front brakes. Start with the caliper furthest from the master cylinder if your motorcycle has a dual-disc setup.
Taking your time to ensure all air bubbles are removed during this process is key. Rushing through it can leave air pockets in the system, compromising brake performance.
Final Steps and Safety Checks
After bleeding both the front and rear brakes, it’s time to wrap up the process with some final steps and safety checks.
- Check for Leaks: Inspect all bleeder valves and lines for any signs of leaks. Tighten any connections as necessary but be cautious not to over-tighten, which can damage threads.
- Top Off the Fluid: Ensure the brake fluid reservoir is filled to the correct level. Replace the reservoir cover securely to prevent contamination.
- Test the Brakes: Before hitting the road, test the brakes while the motorcycle is stationary. The lever should feel firm, and the brakes should engage properly without any sponginess. If the brake lever still feels soft, repeat the bleeding process until you achieve a solid feel.
- Clean Up: Dispose of the old brake fluid properly, as it is toxic and should not be poured down the drain. Clean up any spills thoroughly to avoid damage to your motorcycle’s surfaces.
Completing these final steps ensures that your brakes are functioning correctly and safely, providing peace of mind for your rides.
Common Mistakes to Avoid
While bleeding motorcycle brakes might seem straightforward, there are common mistakes that riders can make. Being aware of these can help you avoid them and ensure a successful brake bleeding process.
- Running the Reservoir Dry: Always monitor the brake fluid level in the reservoir during the bleeding process. Allowing it to run dry introduces air into the system, negating your efforts.
- Over-Tightening the Bleeder Valve: While it’s important to secure the bleeder valve, over-tightening can strip the threads, leading to leaks and further complications.
- Using the Wrong Brake Fluid: Mixing different types of brake fluid or using the incorrect type specified for your motorcycle can result in brake failure. Always double-check the recommended type in your owner’s manual.
- Incomplete Air Removal: If the brake lever still feels soft after bleeding, air bubbles might still be present. It’s crucial to repeat the process methodically until all air is removed.
By being mindful of these common pitfalls, you can ensure a smoother, more effective brake bleeding experience.
Advantages of Regular Brake Bleeding
Regular maintenance, including bleeding your motorcycle brakes, offers several advantages beyond immediate safety.
First, it enhances overall braking performance, providing more responsive and reliable braking. This responsiveness is critical in emergency situations where split-second reactions are required.
Second, bleeding the brakes helps extend the life of your braking components. Old and contaminated brake fluid can cause corrosion and wear on the internal components of your braking system. Regularly replacing the fluid through the bleeding process keeps your brake system in optimal condition.
Lastly, regular brake bleeding helps you stay in tune with your motorcycle’s overall health. It provides the opportunity to inspect other components and ensure everything is in good working order. Spotting potential issues early can prevent more costly repairs down the line.
Professional Assistance vs. DIY
While bleeding motorcycle brakes is a task many riders feel comfortable performing themselves, there are times when seeking professional assistance might be the best course of action.
If you’re new to motorcycle maintenance or uncomfortable with the process’s intricacies, consulting a professional mechanic can ensure the job is done correctly and safely. Professionals have the experience and specialized tools to handle bleeding brakes efficiently, reducing the risk of errors.
On the other hand, performing the task yourself can be rewarding and can help you develop a deeper understanding of your motorcycle’s mechanics. With the right guidance, tools, and patience, many riders can successfully bleed their brakes and gain confidence in managing their bike’s maintenance tasks.
 Advanced Techniques and Tools
For those looking to delve deeper into motorcycle maintenance, advanced techniques and tools can make the bleeding process even more efficient.
Vacuum brake bleeders, for example, use suction to draw brake fluid through the system, allowing for quicker and more thorough air removal. Pressure brake bleeders, another advanced option, use pressurized fluid to force air out, providing an alternative method that can sometimes be more effective than manual bleeding.
Both tools can be invaluable for riders who frequently maintain their motorcycles or have multiple bikes. Investing in these tools can save time and effort, making the maintenance process smoother and more manageable.
Conclusion
So, how do you properly bleed motorcycle brakes? The process involves understanding the importance of removing air from the brake lines, gathering the necessary tools and materials, preparing your motorcycle, and following a systematic bleeding process. By completing final safety checks and avoiding common mistakes, you can ensure your motorcycle’s brakes are reliable and responsive.
Whether you choose to perform the task yourself or seek professional assistance, regular brake maintenance is crucial for safety and performance. Investing time in learning and executing the bleeding process can enhance your riding experience and provide peace of mind. Embrace the challenge, follow this guide, and keep your motorcycle’s brakes in top-notch condition for all your future rides.